Table of Contents
Introduction
You are in the right spot to create your own player. Remember, though, that this process requires some basic IT skills.
FREE Players
Remember that we provide ready-to-use Players for FREE with our Annual Subscriptions for all your screens! PLUG’N’PLAY! No tech stuff is required. Just place your order!
Creating a Yodeck Player based on Raspberry Pi 4
To create a Yodeck Player, you need to have a Raspberry Pi.
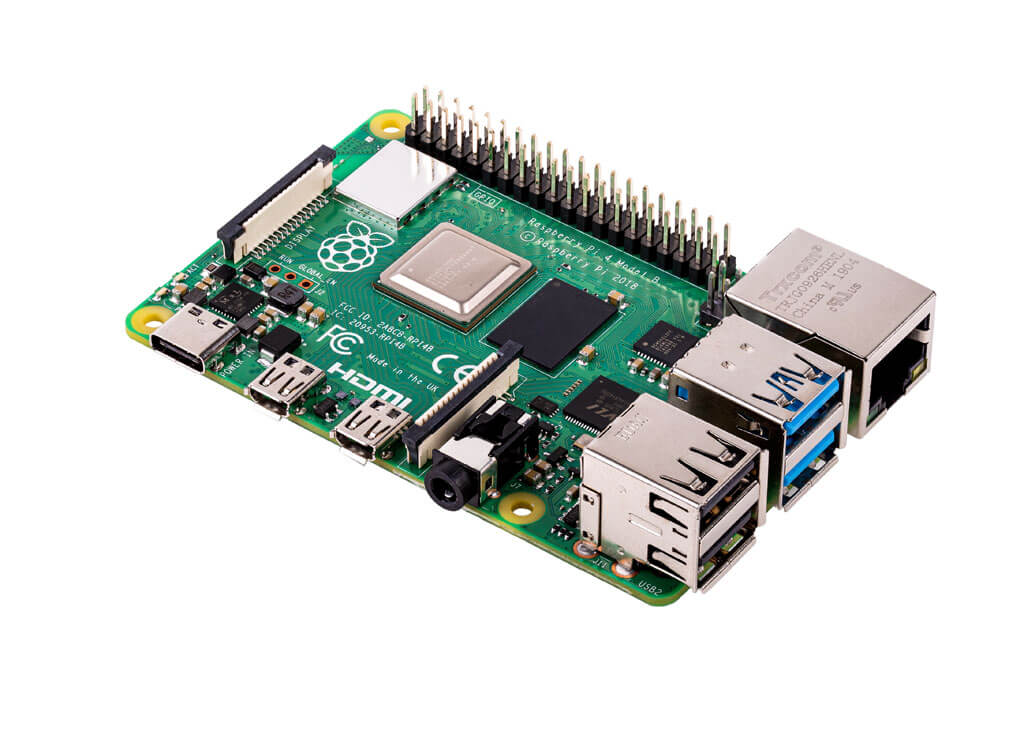
What is the Raspberry Pi?
If you do not know what a Raspberry Pi is, then you have some reading to do
Prerequisites

Make sure that you have everything you need:
- Raspberry Pi, any version
- Strongly recommended
- Raspberry Pi 4 (all versions). We recommend the 4GB/8GB model for simultaneously displaying playlists of multiple web pages or web dashboards.
- For other usages, e.g., video/images/etc., 1GB or 2GB are fine!
- Fully Supported
- Raspberry Pi 4 (1GB), Raspberry Pi 3 B+, Raspberry Pi 3, Raspberry Pi 2, Raspberry Pi 3 Compute Module
- Raspberry Pi 4 (1GB), Raspberry Pi 3 B+, Raspberry Pi 3, Raspberry Pi 2, Raspberry Pi 3 Compute Module
- For all other versions, please click here.
- Strongly recommended
- SD Card (known branding), Class 10, at least 8GB in size. 16GB recommended (3.5GB used by software, the rest for Media storage)
- Power Supply Unit (PSU) for the Raspberry Pi.
- 💡(Pi4: 5V/3A, Pi3: 5V/2.5A, Pi2: 5V/2A)
- 💡(Pi4: 5V/3A, Pi3: 5V/2.5A, Pi2: 5V/2A)
- An SD card reader
Some extra stuff you might need
- You probably need a case for the Raspberry Pi.
- Any plastic case will do.
- Metal cases are delicate and provide better heat dissipation. (We strongly recommend using metal cases.)
- You will need an HDMI screen, TV, or a PC monitor with an HDMI input. This is not required to build the player, but you must see something, right?
- To register and use a Player, you also need Internet access. So, make sure you have an Internet connection available.
- You might need an Ethernet cable.
Preparing the player’s SD card with the Yodeck Software image
Step-by-step procedure:
- Download the latest Yodeck SD card image
- Unzip the zip file you downloaded and save the unzipped image file on your hard drive.
- 💡It should be a single IMG file of about 3.2GB.
- 💡It should be a single IMG file of about 3.2GB.
- Download Etcher and install it.
- 💡Etcher is a fantastic SD card image writing/verification tool that works on Windows, Mac, and Linux.
- 💡Here are some more details about Etcher!
- Remove the SD card from the Raspberry Pi, put it into your SD card reader, and insert it into your PC/Laptop.
- 💡If any windows pop up on your screen upon placing the SD card on your PC/Laptop, ignore and close all of them.
- 💡If any windows pop up on your screen upon placing the SD card on your PC/Laptop, ignore and close all of them.
- Run Etcher, select the unzipped Yodeck image file from your hard drive, select the SD card to write the image to, and then click the “Flash!” button.
- After Etcher completes, it will prompt you to remove the SD card. Remove the SD card and place it back into the Raspberry Pi.
- Connect your Raspberry Pi via HDMI to your TV/Monitor and connect it with an Ethernet cable.
- 💡If you don’t have an Ethernet cable and want to use a WiFi connection, please follow this guide.
- 💡If you don’t have an Ethernet cable and want to use a WiFi connection, please follow this guide.
- Power up the Raspberry Pi and wait for the initialization process to complete. It may take up to 5′ to finish.
- Upon completion, you should see a message on the screen connected to the Pi, showing either a Registration Code or a message with a connectivity error (in case there is no Internet access).
- Ensure you do not remove the Raspberry Pi’s power plug until you see one of these message screens. At all times, if the player is showing a blinking message in the bottom-right corner of the screen (“Loading”, “Configuring”, “Downloading”, etc.), you should not remove power to minimize the risk of interrupting a critical procedure.
How to create a DIY Yodeck player
Registering a Player on your Account
After creating a Player, you must register it under your Yodeck Account.
- Login to your Yodeck Account
- 💡If you do not have a Yodeck account, create one for free.
- 💡If you do not have a Yodeck account, create one for free.
- Click the “Monitors” section and the “+Add Monitor” button on the left sidebar.
- In the ” Registration Code ” field, type in the 8-digit Registration Code you see on the Player’s TV screen and click the “Save” button.
- 💡If an error message is on the screen, you probably have networking issues. Try using an Ethernet cable, or follow this troubleshooting guide.
- 💡If an error message is on the screen, you probably have networking issues. Try using an Ethernet cable, or follow this troubleshooting guide.
- After a minute or so, your player should register with your Yodeck Account, and it should start showing content on the screen.
How-to register your DIY Yodeck player

Quick How-to Video

Internet Access Issues
If you get an error message saying that your player cannot access the Internet, your network might require some configuration to get online (e.g., WiFi access, proxy, etc.).
You should get your player online through a simple wired connection (Ethernet cable) and then configure everything you need through the Yodeck Portal.
On the other hand, if you do not have an Ethernet cable to use and want to use a WiFi connection instead, please follow this guide.
Need Help?
The Yodeck Support Team can help you out! Reach out!